
Do you want to add a volunteer application form to your organization’s WordPress website?
If you’re one of the people managing applications, you might currently be spending a lot of time going back and forth by business email or even handling paper forms.
Wouldn’t it be nice if you could collect volunteer applications online and manage them directly from your website?
In this article, we’ll show you how to easily create a volunteer application form in WordPress, even if you’ve never created a form before.

Creating Your Volunteer Application Form in WordPress
First, you need to install and activate the WPForms plugin. For more details, see our step by step guide on how to install a WordPress plugin.
WPForms is the best WordPress form builder plugin on the market. It is beginner-friendly, and there’s also a WPForms Lite version that’s free, making it a handy option for nonprofits on a small budget. Yes, we know that website costs can add up.
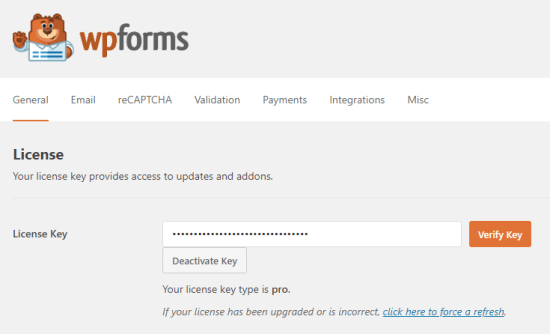
Upon activating the plugin, you need to visit WPForms » Settings page in your WordPress dashboard to enter your license key. You can find this information under your account on WPForms website.
Next, you need to visit the WPForms » Addons page to install the Template Pack Addon, so you can get the built-in volunteer form template.
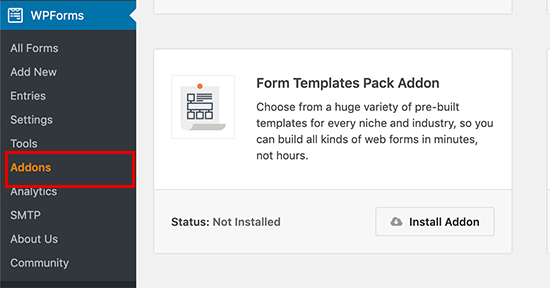
Click the Install Addon button for the Form Templates Pack Addon. Its Status should then show as Active.
Once you’ve done that, go to WPForms » Add New to create your new form.
Next, you need to give your form a name, then scroll down to the Additional Templates section. Simply search for “Volunteer” here or scroll down, and you should see the Volunteer Recruitment Form template.
Click on it, and WPForms will create a volunteer application form for you.
Next, you’ll need to customize the form so that it’s fully relevant for your group or organization. You can edit any of the questions and answers by simply clicking on the form field that you want to change.
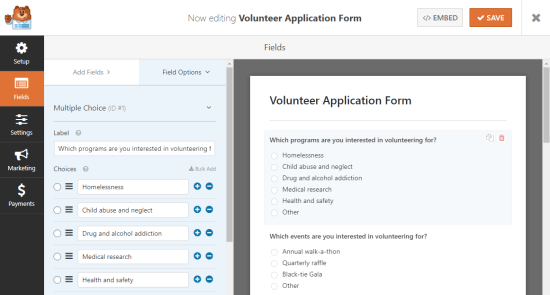
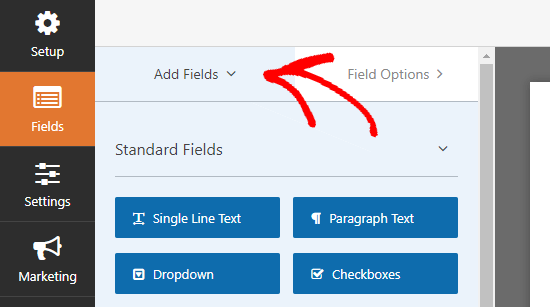
You can also add extra questions or options to your form by clicking the Add Fields tab at the top.
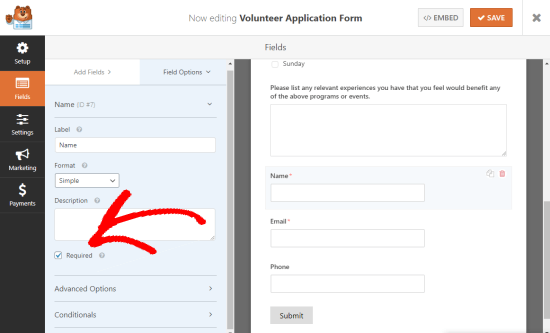
If there are particular fields that are necessary such as the email address field, then you can simply check the box next to Required, and it will become a mandatory field. This means that users will not be able to submit the form without filling this field.
You and your volunteers can easily see which fields are required because they’ll have a small red asterisk next to the field label.
Once you’re happy with your volunteer application form, you can finish setting it up by going to Settings » General.
You might want to change the Submit Button Text here. You could change this from Submit to Send Application, Apply Now, Volunteer now, or anything else that’s appropriate for your organization.
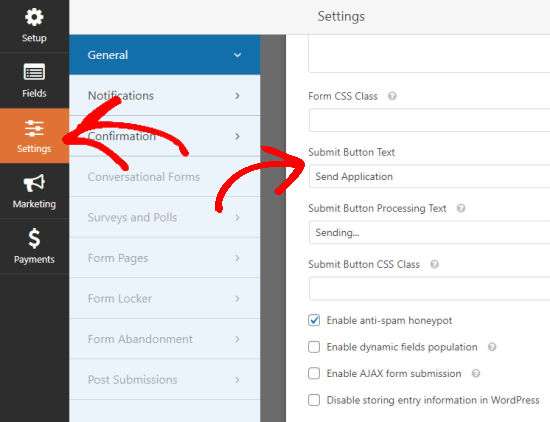
You can also make other changes if you wish. Unless you’re going to use a different form of spam prevention instead, we recommend keeping the anti-spam honeypot feature enabled. This prevents fake spam applications which will save you time. We also recommend setting up reCAPTCHA to further reduce spam submissions.
Setting Up Notifications and Confirmations
By default, whenever someone submits a form on your site, you’ll get an email containing the information they’ve sent.
With WPForms, you can also take a look at submitted form entries in your WordPress dashboard.
You can also set things up so that the volunteer who’s completed the form also gets an email to let them know that you’ve received their application.
Of course, whether or not you’re sending the volunteer a confirmation email, you’ll want to make sure they see an on-screen confirmation when they submit the form.
This happens automatically with WPForms, but you can also customize the message to make it more relevant to your group or organization.
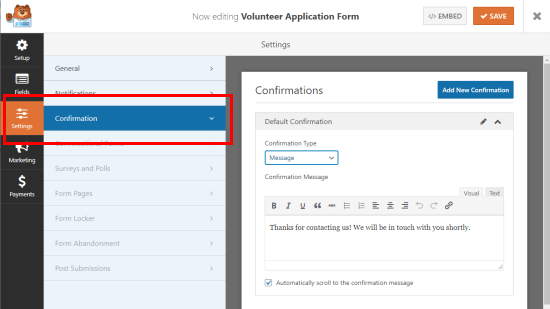
You can edit the confirmation message under Settings » Confirmation.
Bonus Tip: You can also use WPForms’ marketing integration to automatically add all volunteer applicants to your email newsletter. WPForms integrates will all the best email marketing services.
Adding Your Volunteer Application Form to Your Site
Finally, you’ll need to put your form onto your website, so that people can actually fill it in. Using WPForms, you can put it on a page or in a post. You could even include it in your sidebar.
Most likely, you’ll want to put it on a page on your site. Simply create a new page or find the existing page you want to use and click the Add Form button.
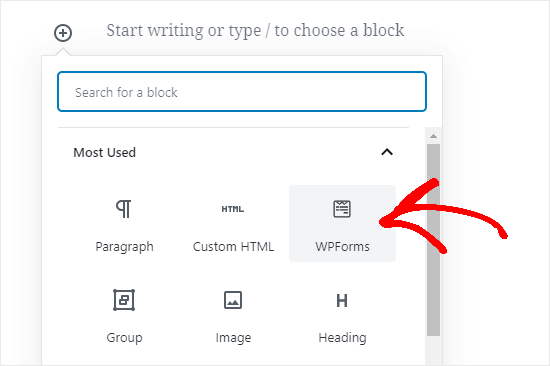
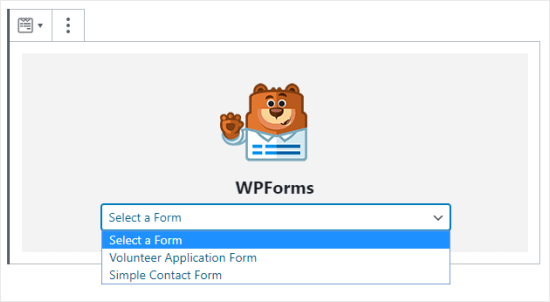
If you’re using the Gutenberg (block) editor, then you need to click the (+) icon to create a new block, and then select WPForms. You can find it under Widgets, or you can search for it.
If you’re still using the classic WordPress editor, then click the Add Form button next to Add Media.

Next, you’ll see the WPForms dropdown. Select your form and click Add Form.
Finally, publish your post and test out the form to make sure that it’s working. You should see your confirmation message after filling it out, and you should receive an email notification whenever it’s filled in.
If you don’t get an email, then there could be an issue with WordPress emails. Check out our guide on how to fix WordPress not sending email issue with step by step instructions.
Once you’re happy with everything, you can share the link to your page with your email list, and social media accounts. Hopefully, you’ll get lots of new volunteers eager to offer their time and share their skills.
We hope this article helped you learn how to make a great volunteer application form in WordPress. You may also want to take a look at our favorite WordPress themes for nonprofits and our recommended WordPress plugins for nonprofits.
If you liked this article, then please subscribe to our YouTube Channel for WordPress video tutorials. You can also find us on Twitter and Facebook.
The post How to Make a Great Volunteer Application Form in WordPress appeared first on WPBeginner.
Post a Comment