Do you want to create a custom WooCommerce cart page?
The default WooCommerce cart page is not optimized for conversions. By optimizing your cart page layout, you can significantly improve your conversions and get more sales.
In this article, we’ll show you how to customize your WooCommerce cart page without any technical knowledge.

Why Create a Custom WooCommerce Cart Page in WordPress?
Creating a custom WooCommerce cart page gives you a chance to increase sales conversions in your online store.
Research shows that nearly 7 out 10 customers will abandon your shopping cart and never come back.
By optimizing the default WooCommerce cart page, you can make more sales without increasing your current traffic.
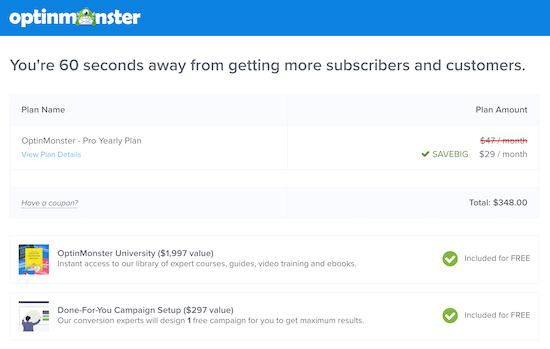
When your visitors have items in their cart, they are very close to finishing the purchase. Your WooCommerce cart page should do everything possible to make the conversion happen.
With that said, let’s take a look at how you can customize your WooCommerce cart page with no code.
How to Create a Custom WooCommerce Cart Page in WordPress
SeedProd is the best drag and drop page builder used by over 1 million websites. It lets you easily create a custom WooCommerce cart page to make more sales.
First thing you need to do is install and activate the plugin. For more details, see our step by step guide on how to install a WordPress plugin.
Note: there is a free version of SeedProd that you can use, but for this tutorial, we’ll use the Pro version because it has the built-in WooCommerce blocks we need.
After the plugin is activated, you need to go to SeedProd » Settings and enter you product license key.
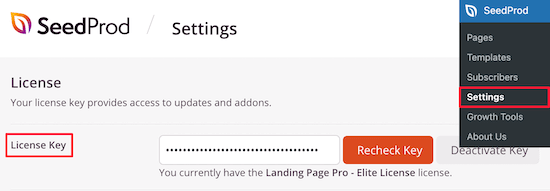
You can find your license key under your account information on the SeedProd website.
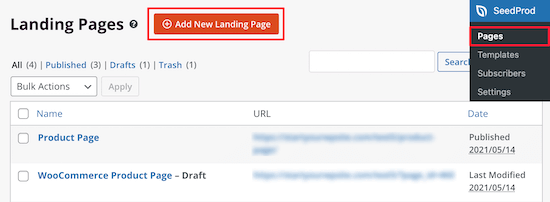
Once you’ve done that, go to SeedProd » Pages and click the ‘Add New Landing Page’ button to create your cart page.
After that, you need to choose a cart page template. There are dozens of professionally designed templates you can use. Once you find a template you like, hover over it and click the ‘Checkmark’ icon.
We’re going to use the ‘Blank’ template since it lets us add only the sections we want.
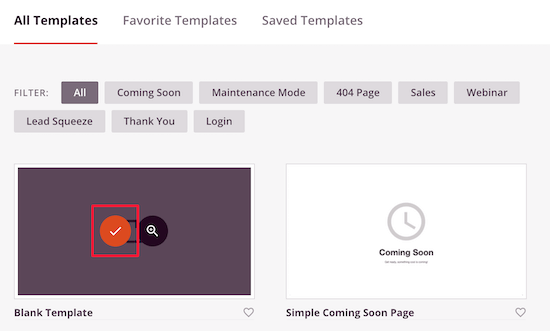
Next, you’ll be asked to name your cart page, and then click ‘Save and Start Editing the Page’.
This will bring you to the drag and drop builder where you can starting building a custom cart page.
First, we’ll add an image block and upload a logo. You can adjust this to look like your header without it being clickable to reduce abandonment.
This keeps your branding in place but gives your visitors fewer exits, so they’re more likely to make a purchase.
Next, simply select the ‘Image’ block and drag it over to your page. Then, upload your logo from your image library.
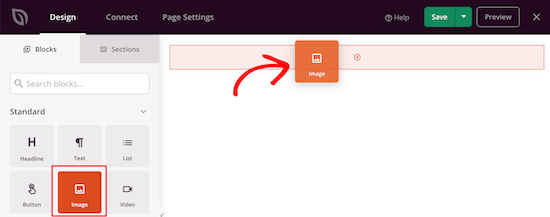
You can customize this entirely with the options panel on the left.
Next, click the content and sidebar block in the ‘Choose your layout:’ section.
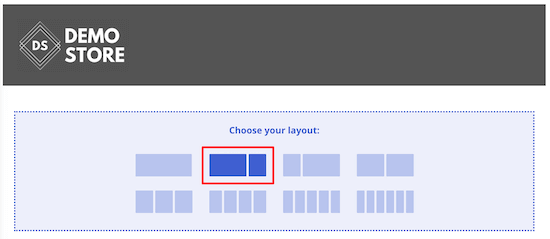
This lets you create a section for your cart, plus a testimonial section.
After that, locate the ‘Cart’ block in the WooCommerce section and drag it over.
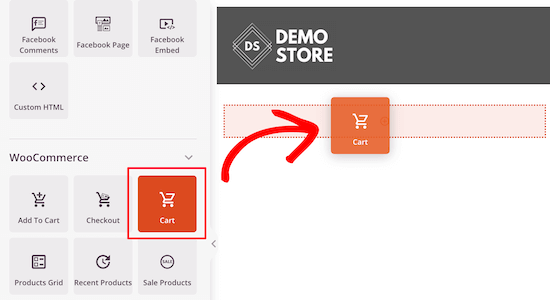
You can customize every part of the cart, including font choice, colors, buttons, and more.
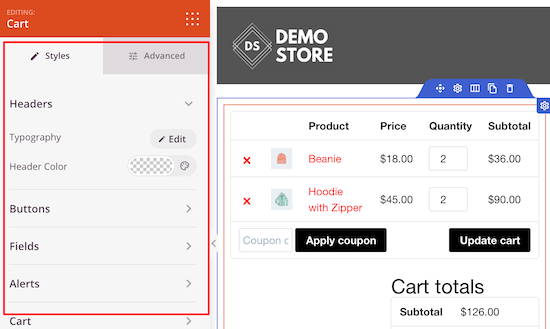
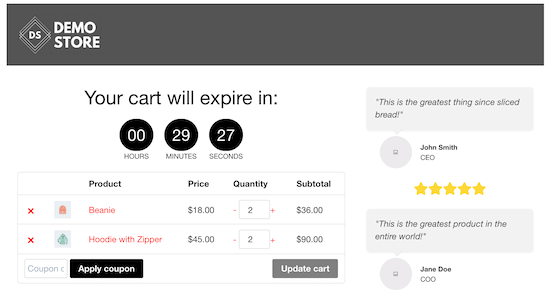
Next, you can add a testimonials block. These act as social proof for your visitors and show them that they’re making the right decision.
Locate the ‘Testimonials’ block and drag it over to the open section.
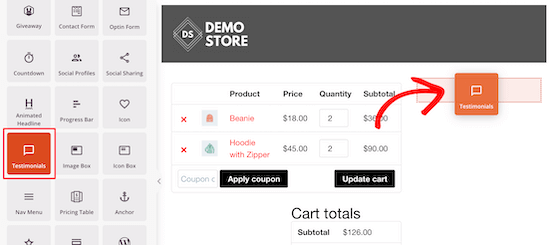
You have full control over the appearance of your testimonials.
There’s the option to add a customer photo, change the testimonial, add a position, and more.

If you want to add multiple testimonials, then follow the same steps above.
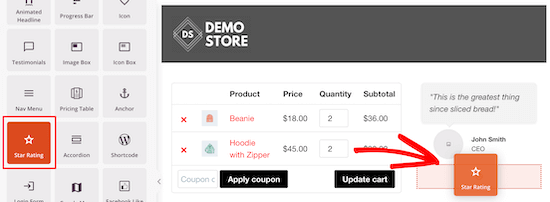
Another great idea is to add a star rating underneath your testimonial.
Simply select the ’Star Rating’ block and drag it under your testimonial.
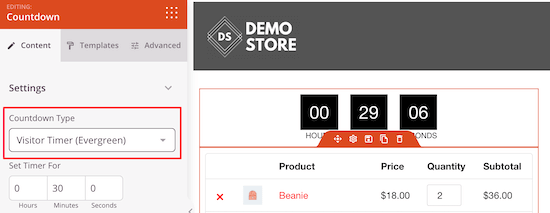
If you want to create scarcity to encourage your customers to make a purchase now, then you can add a scarcity timer to your cart.
All you need to do is select the ‘Countdown Timer’ block and drag it to the top of your cart. Then, select the ‘Visitor Timer’ option so that the timer will refresh for all your visitors.
Next, add a headline notifying your shoppers they have a set period until their cart will expire.
Simply drag over the ‘Headline’ block and enter your text.

Another great feature to add is a popular products section. This lets you improve your sales by promoting other popular products your customers might be interested in.
To do this, just drag over the ‘Best Selling Products’ block from the ‘WooCommerce’ section.
You can also choose any of the other product blocks to add as well.
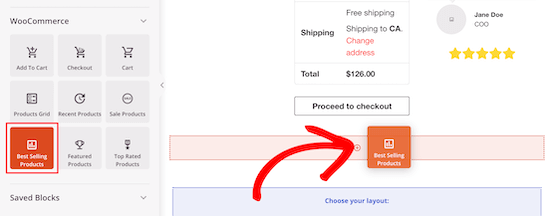
For more details on adding popular products to WooCommerce, see our guide on how to display popular products in WooCommerce.
After you’ve made your changes to the cart page, you can publish it live by clicking the arrow next to the ‘Save’ button and select ‘Publish’.
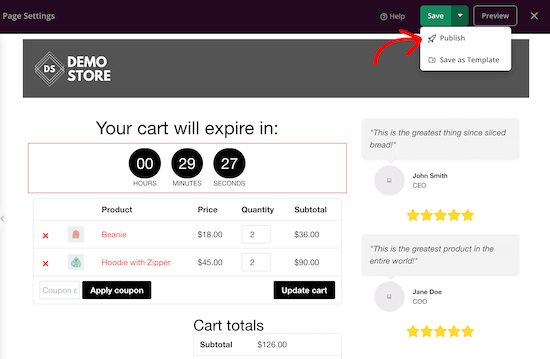
Next, you’ll need to adjust your cart URL in the WooCommerce settings.
Go to WooCommerce » Settings and then click on the ‘Advanced’ tab.
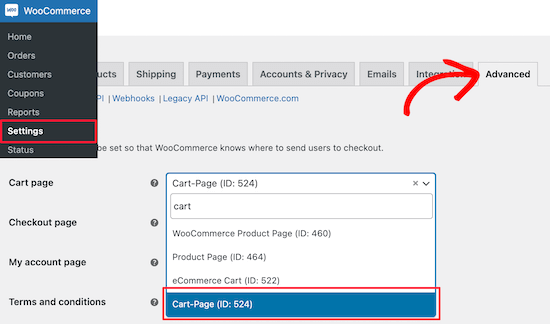
After that, select the new cart page URL that you created with SeedProd. Make sure to click ‘Save changes’ at the bottom of the screen.
Depending on the WooCommerce theme you’re using, your visitors can now navigate to the cart page easier.
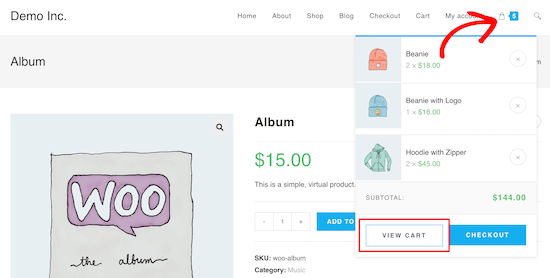
This will help your visitors view their carts on mobile devices too.
You can continue to customize your cart page with SeedProd, adding new blocks, and changing the design until it’s perfect.
Continue to test try different elements, to see what improves conversions the most.
To track your WooCommerce cart conversions, see our step by step guide on how to setup WooCommerce conversion tracking.
Bonus: How to Further Improve WooCommerce Cart Page Conversions
Once you have created a custom WooCommerce cart page, you can further improve the conversions and reduce cart abandonment.
This helps you make even more revenue from your existing traffic.
Here are a few simple ways to do it.
1. Reduce Cart Abandonment with Timed Popups in WooCommerce
Nearly 70 percent of all shopping carts are abandoned. One of the best ways to reduce cart abandonment is with a timed popup.
OptinMonster is the best WordPress popup plugin used by over 1.2 million sites.
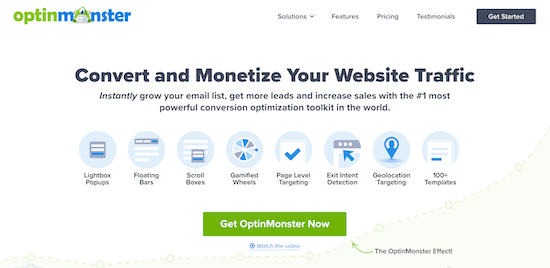
It uses a unique Exit-Intent® technology to display popups exactly when a user is about to leave your site.
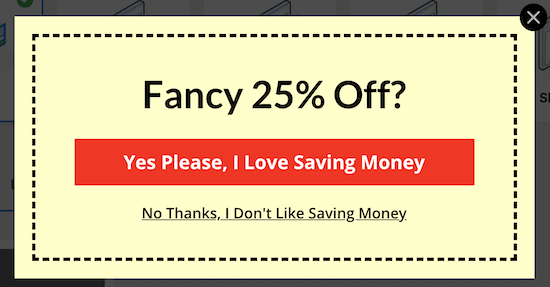
You can entice them back with a unique coupon code just for them.
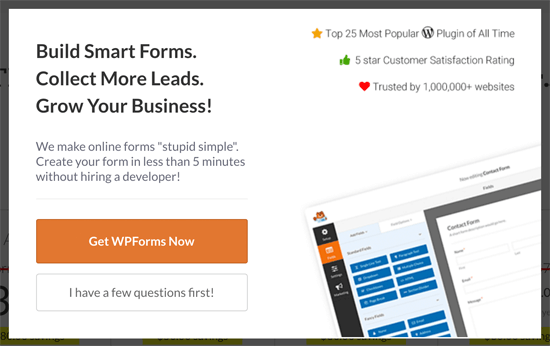
If you’ve already offered your visitor a coupon, then use an educational popup that helps with any questions and reassures them about their purchase, like this one from WPForms.
There are even more unique popups and slide-ins you can add to your site too.
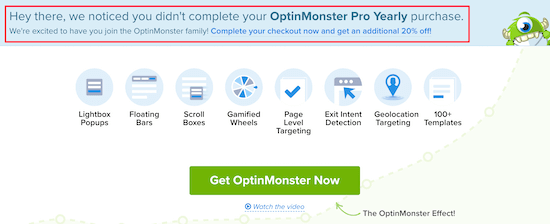
For example, if a customer adds an item to their cart and leaves but later returns, then you can add a slide-in that offers a coupon to complete their purchase.
For more details, see our guide on how to create a WooCommerce popup to increase sales.
2. Boost Sales with Social Activity Notifications in WooCommerce
Social activity notifications alert your visitors to new purchases that have been made in real-time. This uses FOMO to improve your conversions and push them to buy.
The simplest way to add social proof notifications to your WooCommerce cart page is with TrustPulse.

It’s the best social proof plugin for WordPress and WooCommerce in the market and has been proven to increase conversions by 15%.
It can be set up in a few minutes, and you can automatically display a notification bubble with recent purchases, free trial sign-ups, and more.
The notifications won’t get in the way of your cart or user experience. The only thing they do is improve your store conversions.

For more details, see our guide on how to use FOMO on your WordPress site to increase conversions.
We hoped this article helped you create a custom WooCommerce cart page without writing any code. You may also want to see our step by step guide on how to improve WooCommerce SEO to grow your traffic, and our expert picks of the best WooCommerce plugins for your store.
If you liked this article, then please subscribe to our YouTube Channel for WordPress video tutorials. You can also find us on Twitter and Facebook.
The post How to Create a Custom WooCommerce Cart Page (No Coding) appeared first on WPBeginner.
Post a Comment